
Homemade sourdough pizza is so good and so easy! In fact, it’s SOO GOOD, you’ll never want to go back to a regular yeasted pizza crust again.

Here’s the thing, it’s the exact same recipe and process as my homemade sourdough bread, found here:
You’ll need:
50g active starter
350g water
500g bread flour
10g sea salt
1 teaspoon dried oregano (optional)
1 tablespoon olive oil - for your skillet
The oregano is optional because you could intend to make a loaf of bread, and then decide to switch to making pizza with the dough instead. Just sprinkle the oregano on top of your sauce for an herbaceous hit of flavour, or mix it into your dough at the beginning... it’s your choice.
Also optional: sprinkling the crust with garlic powder and / or cornmeal for that authentic crunch.
Here’s the process:
Mix 50 grams of your bubbly starter into 350 grams of water.
It should look like this:


Add 500 grams of strong unbleached bread flour.
Then add 9 or 10 grams of nice sea salt, to your taste.


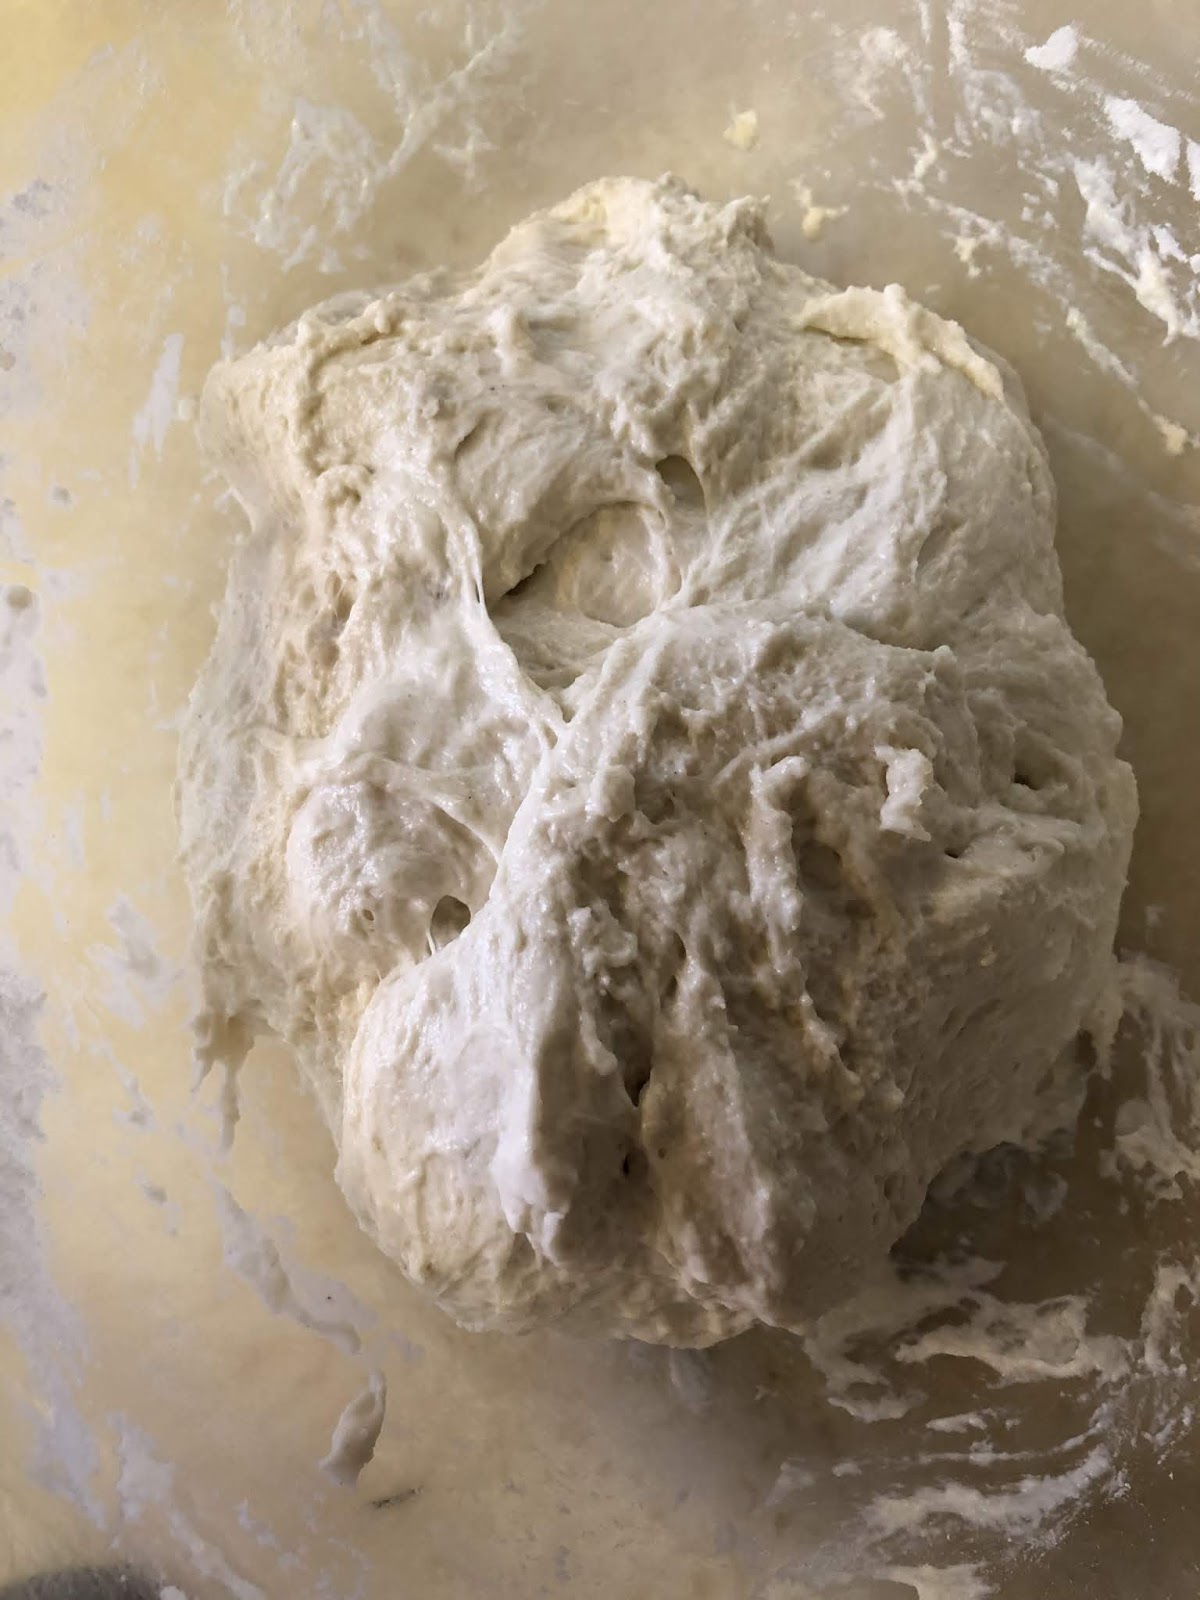
Mix until all the flour is absorbed by the water. If it feels too dry, meaning you find some bits of flour, feel free to add a splash of extra water - up to 20g, as needed. It should look rough and a bit shaggy, like this:

After about an hour (or at a convenient time for you) give it a twenty point turn, by pulling the outside of the dough to the centre of the dough. This will ensure even fermenting temperature throughout the dough, and it will also start building structure into your dough, so it can hold its rounded shape.
View the first set of pulls and turns here:
Please note: I am left handed, and therefore I move my pulls and turns in a clockwise direction. If you are right handed, you may find it feels more natural to pull and turn in a counter clockwise direction.
Repeat your pulls and turns every half hour to an hour or so, and observe the changes in your dough. It should grow bouncier and puffier and softer with every pull and fold. This is after about 2 hours:
This is after about 3 hours:
After 3 or 4 series of pulls and turns, cover and let your sourdough proof overnight on your counter. It may look all happy and bubbly, like this in the morning... but it may not... every batch is different:
This is after about 3 hours:
After 3 or 4 series of pulls and turns, cover and let your sourdough proof overnight on your counter. It may look all happy and bubbly, like this in the morning... but it may not... every batch is different:

In the morning, give your lovely sourdough one final round of pulls and turns and place it in the refrigerator until you’re ready to make some pizza!! It can be made later the same day or the very next day, if you prefer a more sour crust.
After that, it’s TIME TO MAKE PIZZA!! Give yourself a total of about two hours to prepare your ultimate sourdough pizzas.
First, take your covered bowl of dough out of the fridge, and on a lightly floured surface, divide it into as many pizzas as you would like. I believe it is perfect cut into four cast iron skillet portions.
Form the balls lightly, and let them come to room temperature (about an hour):

In the meantime, prep your favourite pizza toppings. We really love the following combinations:
- pepperoni, mushroom and bacon (a classic Canadian)
- ham, pineapple, and red pepper (Hawaiian)
- pepperoni, ham, bacon, sausage, onion (Meat Lovers)
- pepperoni, bacon, peppers, onions, olives (Deluxe)
- spinach, broccoli, peppers, onions, garlic, basil (Veggie)
- tomato sauce, mozzarella, basil (Margherita)
- bacon, mushrooms, sautéed onions (Mom’s choice)

When your dough balls are soft and at room temperature, begin shaping them into your pizza crusts by gently pressing and pulling them softly into a pizza shape with a nice width of crust. You will need to let the dough rest in between shapings until they are just about the size of your cast iron skillet(s).

Take care not to overwork the dough or pop those amazing bubbles!

Leave the carefully formed pizza crusts to rest and rise for a half hour to an hour while you finish prepping your toppings.


Preheat your cast iron skillets to medium-high, add a teeny amount of oil, and then place your sourdough crusts in to begin cooking.

Add your sauce(s) and oregano / seasonings...

Add your toppings... and allow the crusts to develop some nice colour and crunch!

Top with cheese and finish baking in the oven (preheated to 450 degrees Fahrenheit) for about 7-10 minutes.
ENJOY!
See the lovely bubbles in the crust?

See the crispy bottom crust?

Let each pizza rest on a cooling rack as it comes out of the oven, so you preserve that glorious crunch!

Note: your sourdough pizza dough can also be formed into one large pizza and cooked in a large pizza pan as well.... but in my opinion, the crust formed with a cast iron skillet simply cannot be beat!

As my husband said, we don’t need to order pizza ever again...!

You decide for yourself!


